- Oct 31 Fri 2014 18:59
-
草尼馬掰掰(誤XD...) David在澳洲玩完就趕快回來
- Oct 30 Thu 2014 17:38
-
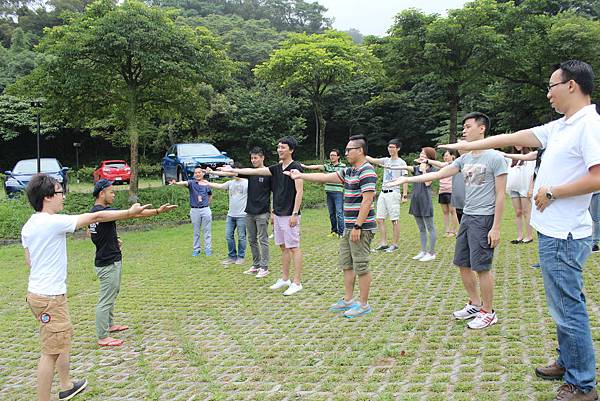
活動後記分享| 蹲馬步是行銷人必備功課

常覺得行銷人大部分的工作時間都是在蹲馬步的動作,很多時候我們都在默默地做基本功,
整理報表、分析數據、收集網路資料….等,這些與「創意」八竿子打不上邊的就是我們平時最主要的工作內容。
- Jun 13 Fri 2014 12:05
-
安德元老畢業回憶錄-Bruce
- Dec 23 Mon 2013 19:28
-
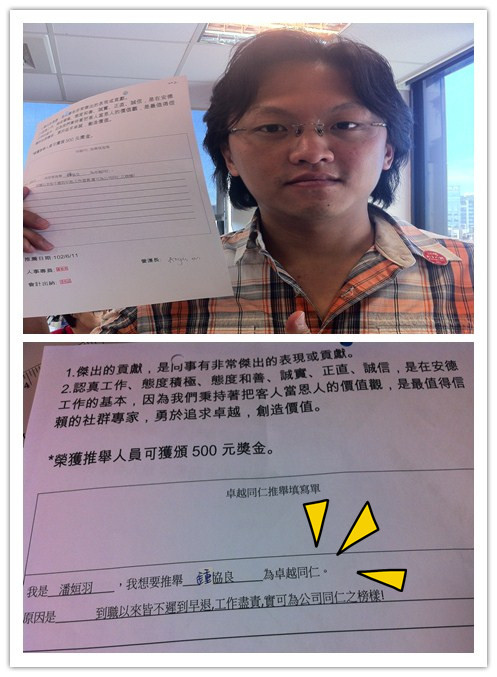
102.10&11月卓越表彰-得獎者!!
- Dec 23 Mon 2013 17:21
-
102.12.9-安德年度會議
- Nov 06 Wed 2013 17:07
-
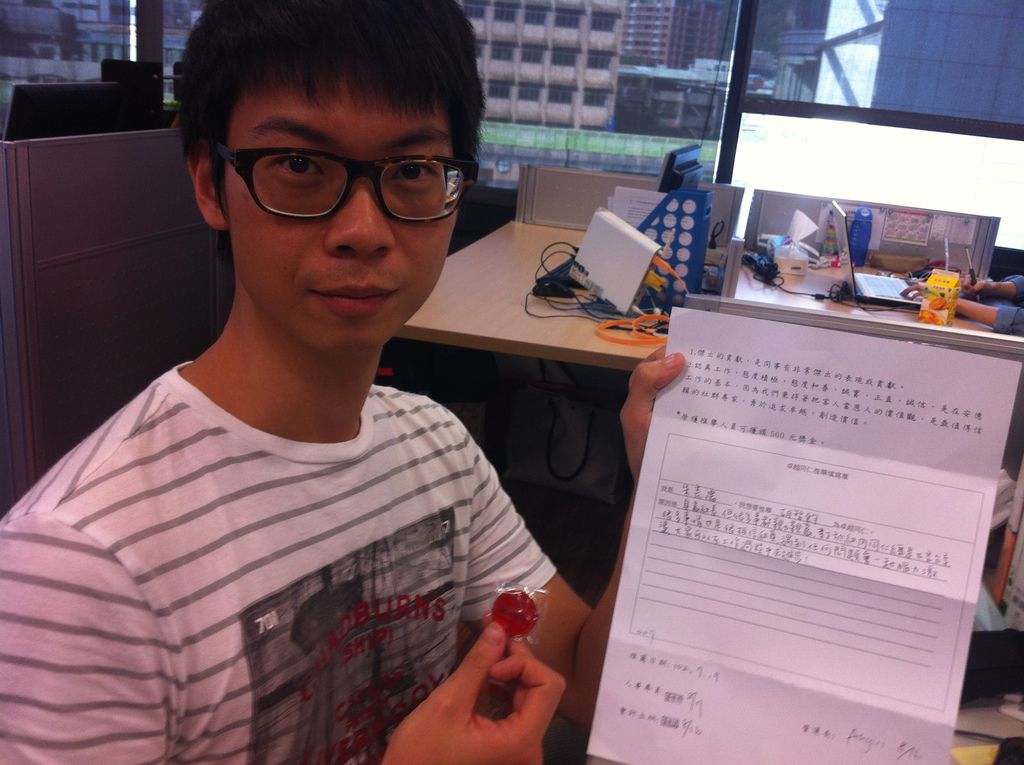
102.9 月 恭喜以下三位同仁榮獲卓越表章及獲頒獎金500元整!!!
- Jul 29 Mon 2013 18:52
-
恭喜以下這三位同仁榮獲卓越表章及獲頒獎金500元整!!!!!
- Jun 21 Fri 2013 11:49
-
2013.6.3-Listening Day ~^0^~
- May 16 Thu 2013 11:27
-
Processing.js:製作動畫不再是Flash的專利
Processing一直都是設計師用來制作互動作品的平台之一,過往都是搭配Arduino來與實體感測器結合,設計的初衷就是小而簡單,並且搭配了穩定的2D/3D功能,讓設計師也可以製作出絢麗的動畫效果,現在Processing的功能可以搬移到網頁上了,搭配Processing.js,就可以使用Processing提供的API來製作出以往Processing平台上可以達成的效果,不過是HTML5限定喔。
以下是示範程式碼:
<!DOCTYPE html>
<html>
<head>
<title>Processing.js Test</title>
<script src="processing.min.js"></script>
</head>
<body>
<h1>Processing.js</h1>
<canvas id="HelloProcess"></canvas>
<script type="text/javascript">
function sketchProc(processing) {
processing.println('Hello World');
// Override draw function, by default it will be called 60 times per second
processing.draw = function() {
// determine center and max clock arm length
var centerX = processing.width / 2, centerY = processing.height / 2;
var maxArmLength = Math.min(centerX, centerY);
function drawArm(position, lengthScale, weight) {
processing.strokeWeight(weight);
processing.line(centerX, centerY,
centerX + Math.sin(position * 2 * Math.PI) * lengthScale * maxArmLength,
centerY - Math.cos(position * 2 * Math.PI) * lengthScale * maxArmLength);
}
// erase background
processing.background(224);
var now = new Date();
// Moving hours arm by small increments
var hoursPosition = (now.getHours() % 12 + now.getMinutes() / 60) / 12;
drawArm(hoursPosition, 0.5, 5);
// Moving minutes arm by small increments
var minutesPosition = (now.getMinutes() + now.getSeconds() / 60) / 60;
drawArm(minutesPosition, 0.80, 3);
// Moving hour arm by second increments
var secondsPosition = now.getSeconds() / 60;
drawArm(secondsPosition, 0.90, 1);
};
}
var canvas = document.getElementById('HelloProcess');
var prsObj = new Processing(canvas, sketchProc);
</script>
</body>
</html>
canvas必須作為Processing的畫板使用,之後要建立一個Processing的物件,而Processing會透過draw函式以60 fps的速度描繪圖形,所有的動畫就是寫在這裡,要呼叫Processing的API時就只要使用processing即可。
以下是示範程式碼:
<!DOCTYPE html>
<html>
<head>
<title>Processing.js Test</title>
<script src="processing.min.js"></script>
</head>
<body>
<h1>Processing.js</h1>
<canvas id="HelloProcess"></canvas>
<script type="text/javascript">
function sketchProc(processing) {
processing.println('Hello World');
// Override draw function, by default it will be called 60 times per second
processing.draw = function() {
// determine center and max clock arm length
var centerX = processing.width / 2, centerY = processing.height / 2;
var maxArmLength = Math.min(centerX, centerY);
function drawArm(position, lengthScale, weight) {
processing.strokeWeight(weight);
processing.line(centerX, centerY,
centerX + Math.sin(position * 2 * Math.PI) * lengthScale * maxArmLength,
centerY - Math.cos(position * 2 * Math.PI) * lengthScale * maxArmLength);
}
// erase background
processing.background(224);
var now = new Date();
// Moving hours arm by small increments
var hoursPosition = (now.getHours() % 12 + now.getMinutes() / 60) / 12;
drawArm(hoursPosition, 0.5, 5);
// Moving minutes arm by small increments
var minutesPosition = (now.getMinutes() + now.getSeconds() / 60) / 60;
drawArm(minutesPosition, 0.80, 3);
// Moving hour arm by second increments
var secondsPosition = now.getSeconds() / 60;
drawArm(secondsPosition, 0.90, 1);
};
}
var canvas = document.getElementById('HelloProcess');
var prsObj = new Processing(canvas, sketchProc);
</script>
</body>
</html>
canvas必須作為Processing的畫板使用,之後要建立一個Processing的物件,而Processing會透過draw函式以60 fps的速度描繪圖形,所有的動畫就是寫在這裡,要呼叫Processing的API時就只要使用processing即可。
- May 10 Fri 2013 13:40
-
JavaScript GUID產生器
寫程式的時候常常會需要用到GUID,JavaScript有一種很簡易的產生方式:
Math.guid = function(){
return 'xxxxxxxx-xxxx-0xxx-yxyx-xxxxxxxxxxxx'.replace(/[xy]/g, function(c){
var string = Math.random()*16|0, v = c === 'x' ? string : (string &0x3|0x8);
return string.toString(16);
}).toUpperCase();
}
console.info(Math.guid());
Math.guid = function(){
return 'xxxxxxxx-xxxx-0xxx-yxyx-xxxxxxxxxxxx'.replace(/[xy]/g, function(c){
var string = Math.random()*16|0, v = c === 'x' ? string : (string &0x3|0x8);
return string.toString(16);
}).toUpperCase();
}
console.info(Math.guid());
- May 09 Thu 2013 11:55
-
使用PHP搭配GD進行縮圖,並對不合乎尺寸的圖片進行背景補色
今天改寫了之前寫得縮圖程式,之前寫的縮圖程式會將小於特定寬度的圖片重新取樣成特定尺寸,這樣的做法會導致小圖片的失真,所以我改寫了這個過程,將小於特定尺寸的圖片透過補色,變成一張符合特定尺寸的圖:
public function resizeImg($img, $width = 300, $height = 300, $newFilename = '', $maxImgWidth = 800, $maxImgHeight=800, $bgColor=null) {
$bgColor = $bgColor === null || !is_array($bgColor) ? array('r'=>255, 'g'=>255, 'b'=>255) : $bgColor;
switch (strtolower($img['type'])) {
case 'image/jpg':
case 'image/jpeg':
case 'image/pjpeg':
$image = imagecreatefromjpeg($img['tmp_name']);
break;
case 'image/png':
$image = imagecreatefrompng($img['tmp_name']);
break;
case 'image/gif':
$image = imagecreatefromgif($img['tmp_name']);
break;
default:
throw new Exception('Unsupported type: ' . $img['type']);
}
// Target dimensions
$max_width = $width;
$max_height = $height;
// Get current dimensions
$old_width = imagesx($image);
$old_height = imagesy($image);
// Calculate the scaling we need to do to fit the image inside our frame
$scale = min($max_width / $old_width, $max_height / $old_height);
$new_width = ceil($scale * $old_width);
$new_height = ceil($scale * $old_height);
// Create new empty image
$new = imagecreatetruecolor($new_width, $new_height);
// Get the new dimensions
if($old_width >= $maxImgWidth){
imagecopyresampled($new, $image, 0, 0, 0, 0, $new_width, $new_height, $old_width, $old_height);
}else{
$new_width = $maxImgWidth;
$new_height = ($maxImgHeight >= $old_height ? $maxImgHeight : $old_height);
$new = imagecreatetruecolor($new_width, $new_height);
$backgroundColor = imagecolorallocate($new, $bgColor['r'], $bgColor['g'], $bgColor['b']);
imagefill($new, 0, 0, $backgroundColor);
$centerX = (($new_width - $old_width) / 2);
$centerY = (($new_height - $old_height) / 2);
$centerY = $centerY + $old_height >= $new_height ? 0 : $centerY;
imagecopy($new, $image, $centerX, $centerY, 0, 0, $old_width, $old_height);
}
switch (strtolower($img['type'])) {
case 'image/jpg':
case 'image/jpeg':
case 'image/pjpeg':
$optImg = imagejpeg($new, $newFilename, 100);
break;
case 'image/png':
$optImg = imagepng($new, $newFilename, 0, PNG_ALL_FILTERS);
break;
case 'image/gif':
$optImg = imagegif($new, $newFilename);
break;
}
imagedestroy($image);
imagedestroy($new);
}
public function resizeImg($img, $width = 300, $height = 300, $newFilename = '', $maxImgWidth = 800, $maxImgHeight=800, $bgColor=null) {
$bgColor = $bgColor === null || !is_array($bgColor) ? array('r'=>255, 'g'=>255, 'b'=>255) : $bgColor;
switch (strtolower($img['type'])) {
case 'image/jpg':
case 'image/jpeg':
case 'image/pjpeg':
$image = imagecreatefromjpeg($img['tmp_name']);
break;
case 'image/png':
$image = imagecreatefrompng($img['tmp_name']);
break;
case 'image/gif':
$image = imagecreatefromgif($img['tmp_name']);
break;
default:
throw new Exception('Unsupported type: ' . $img['type']);
}
// Target dimensions
$max_width = $width;
$max_height = $height;
// Get current dimensions
$old_width = imagesx($image);
$old_height = imagesy($image);
// Calculate the scaling we need to do to fit the image inside our frame
$scale = min($max_width / $old_width, $max_height / $old_height);
$new_width = ceil($scale * $old_width);
$new_height = ceil($scale * $old_height);
// Create new empty image
$new = imagecreatetruecolor($new_width, $new_height);
// Get the new dimensions
if($old_width >= $maxImgWidth){
imagecopyresampled($new, $image, 0, 0, 0, 0, $new_width, $new_height, $old_width, $old_height);
}else{
$new_width = $maxImgWidth;
$new_height = ($maxImgHeight >= $old_height ? $maxImgHeight : $old_height);
$new = imagecreatetruecolor($new_width, $new_height);
$backgroundColor = imagecolorallocate($new, $bgColor['r'], $bgColor['g'], $bgColor['b']);
imagefill($new, 0, 0, $backgroundColor);
$centerX = (($new_width - $old_width) / 2);
$centerY = (($new_height - $old_height) / 2);
$centerY = $centerY + $old_height >= $new_height ? 0 : $centerY;
imagecopy($new, $image, $centerX, $centerY, 0, 0, $old_width, $old_height);
}
switch (strtolower($img['type'])) {
case 'image/jpg':
case 'image/jpeg':
case 'image/pjpeg':
$optImg = imagejpeg($new, $newFilename, 100);
break;
case 'image/png':
$optImg = imagepng($new, $newFilename, 0, PNG_ALL_FILTERS);
break;
case 'image/gif':
$optImg = imagegif($new, $newFilename);
break;
}
imagedestroy($image);
imagedestroy($new);
}
- May 06 Mon 2013 10:50
-
NodeJS - 使用JavaScript開發伺服端邏輯
JavaScript needs a standard way to include other modules and for those modules to live in discreet namespaces. There are easy ways to do namespaces, but there’s no standard programmatic way to load a module (once!). This is really important, because server side apps can include a lot of code and will likely mix and match parts that meet those standard interfaces.
Kevin Dangoor, What Server Side JavaScript needs